FEATURES


MEASUREMENTS
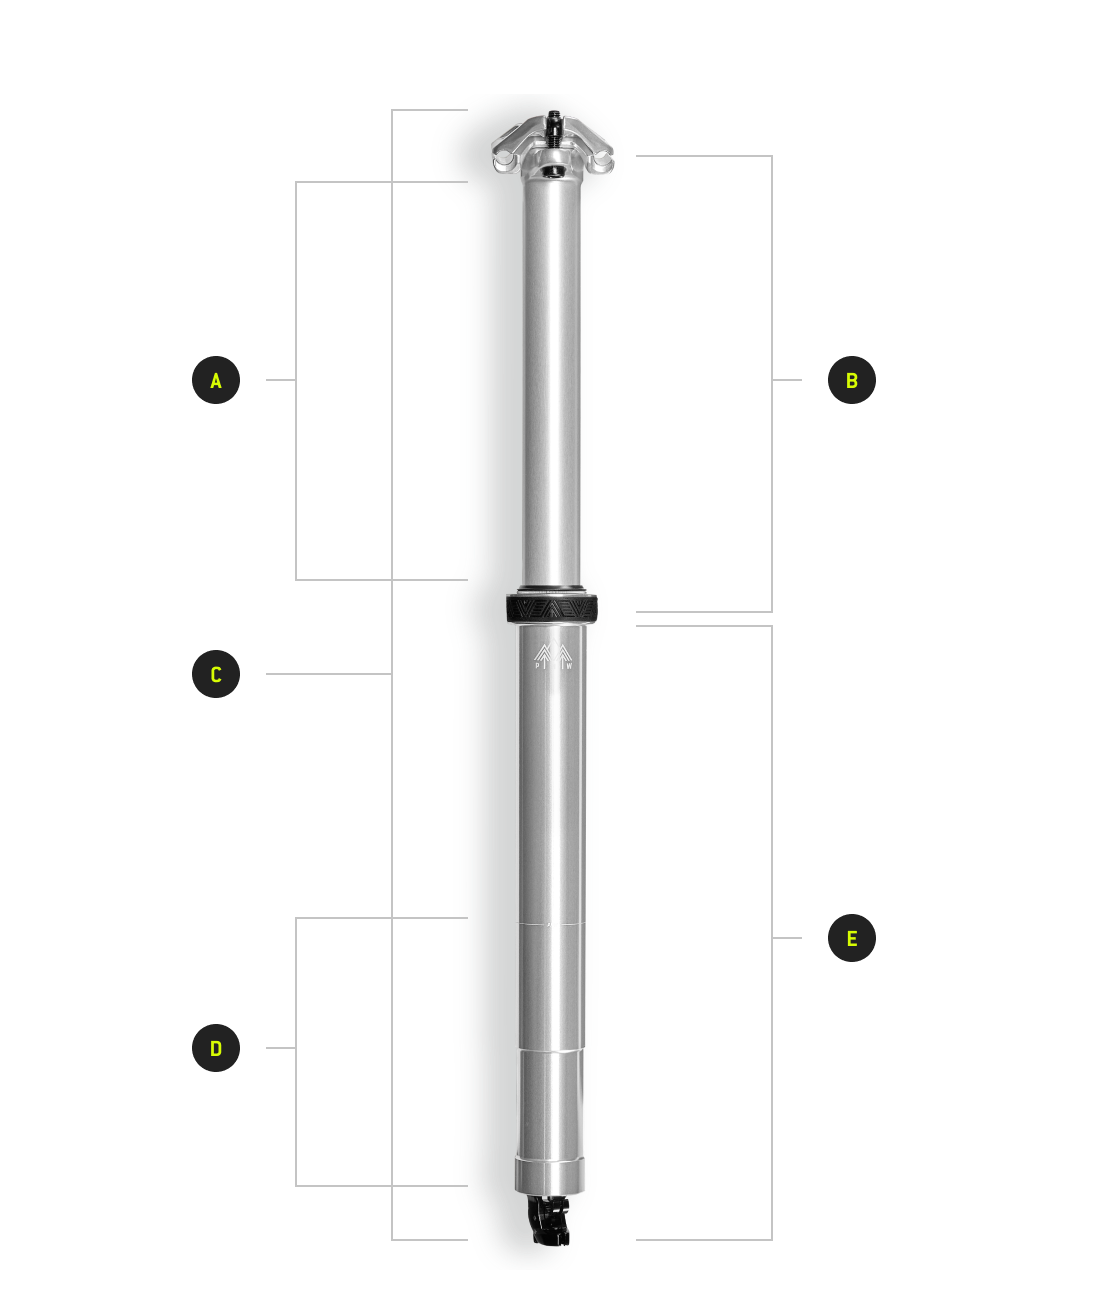
| A | Travel | 125mm | 150mm | 175mm | 200mm | 225mm |
| B | Seat Collar to Center of Rails | 156mm | 181mm | 206mm | 231mm | 256mm |
| C | Total Length | 382mm | 435mm | 485mm | 537mm | 600mm |
| D | Min. Insertion Length | 90mm | 120mm | 120mm | 150mm | 190mm |
| E | Full Insertion Length | 226mm | 254mm | 279mm | 306mm | 344mm |
| * | 30.9 Weight | 452g | 490g | 524g | 560g | 614g |
| * | 31.6 Weight | 470g | 510g | 544g | 580g | 636g |
| * | 34.9 Weight | 516g | 556g | 596g | 636g | 700g |
QUESTIONS?
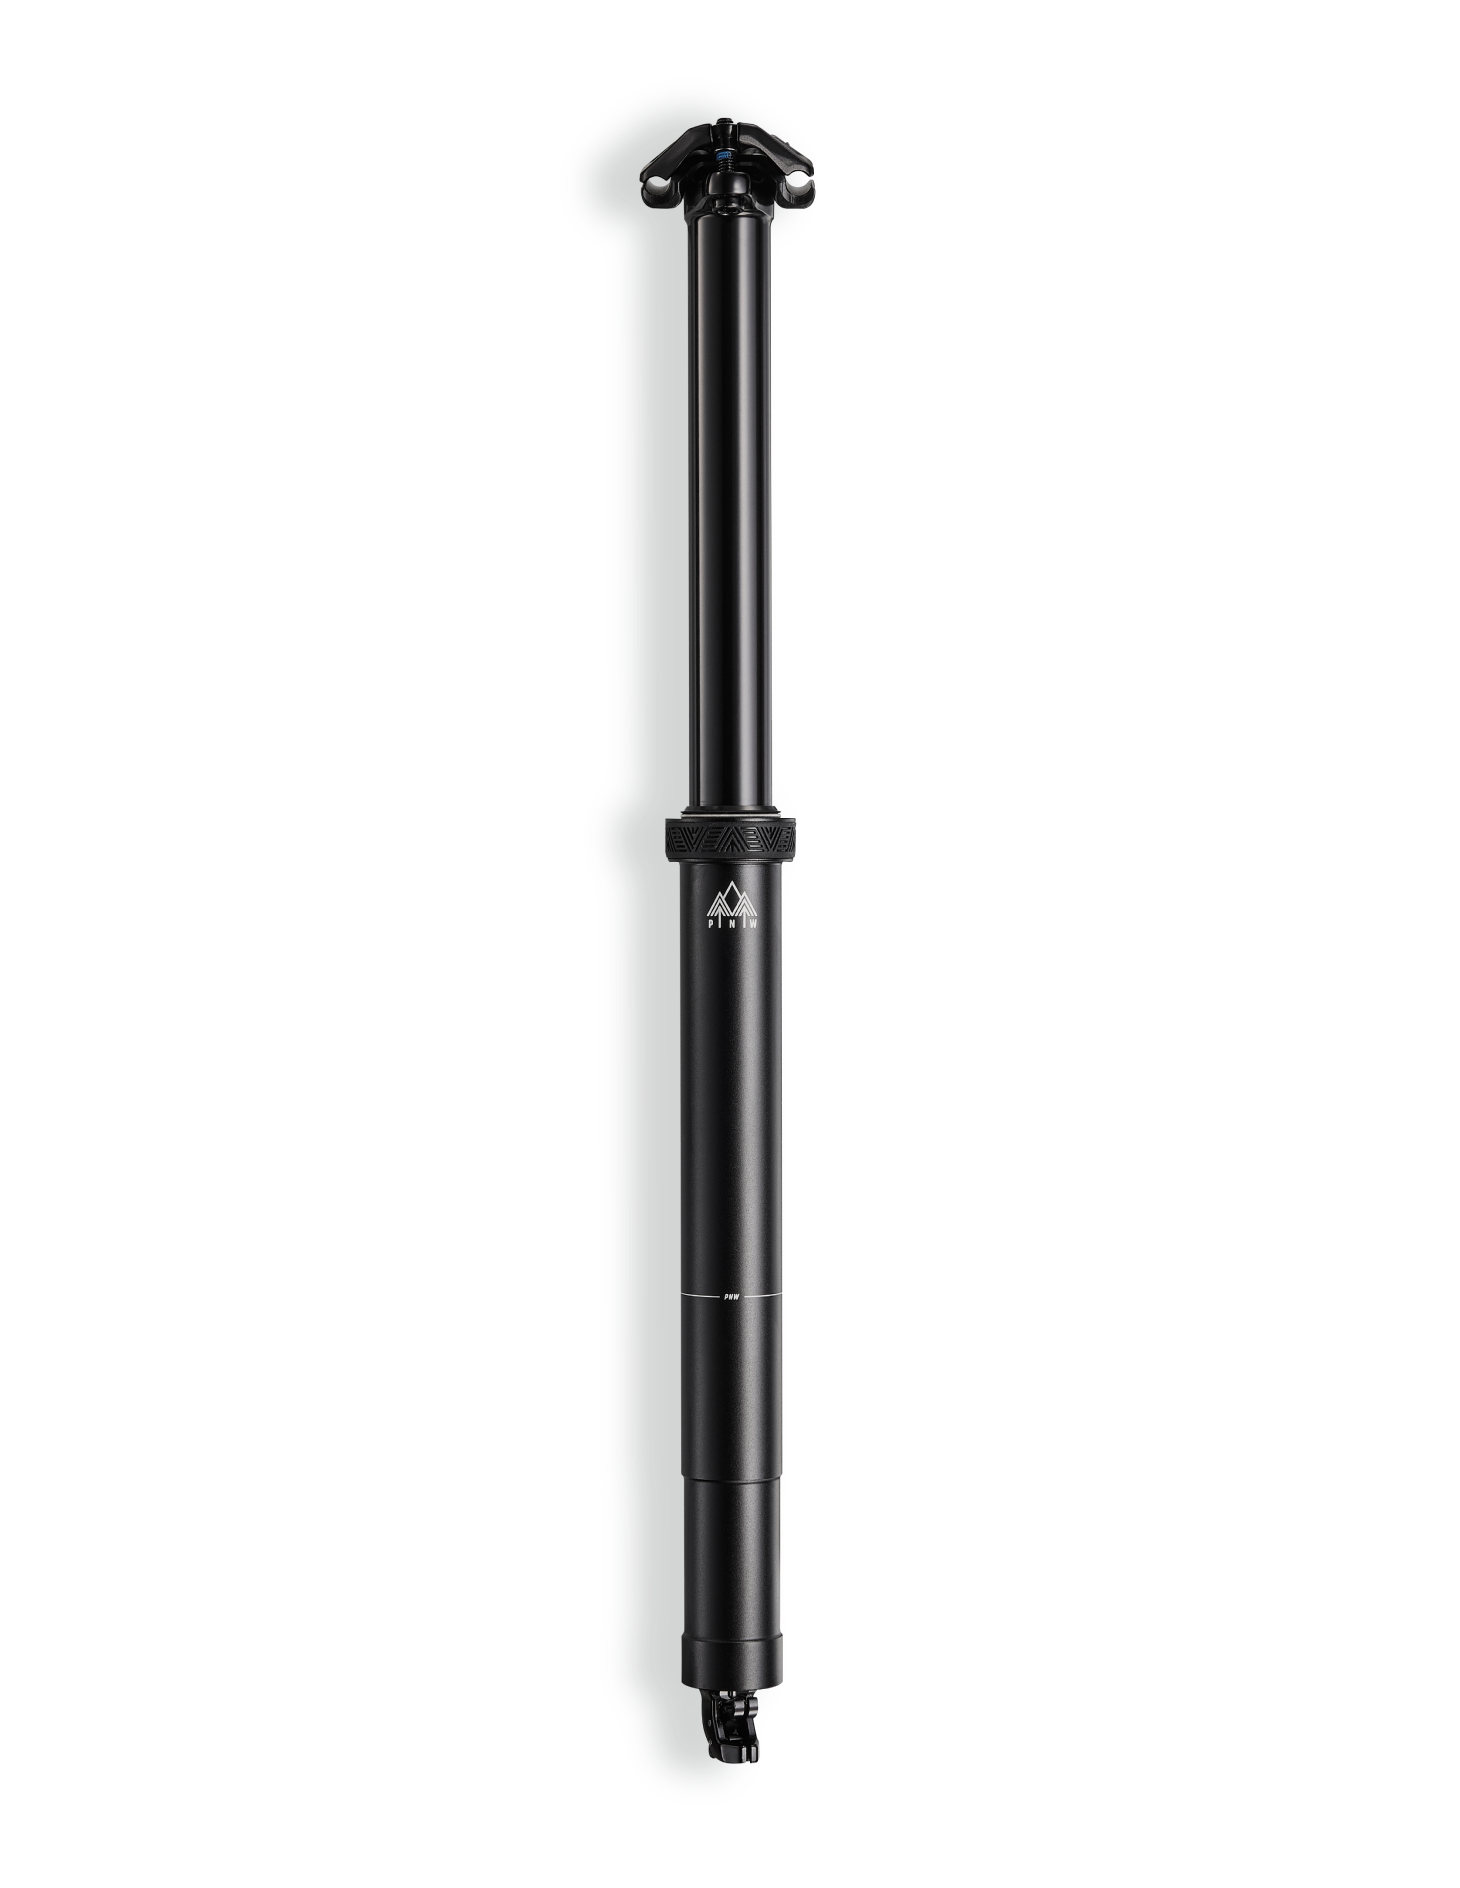
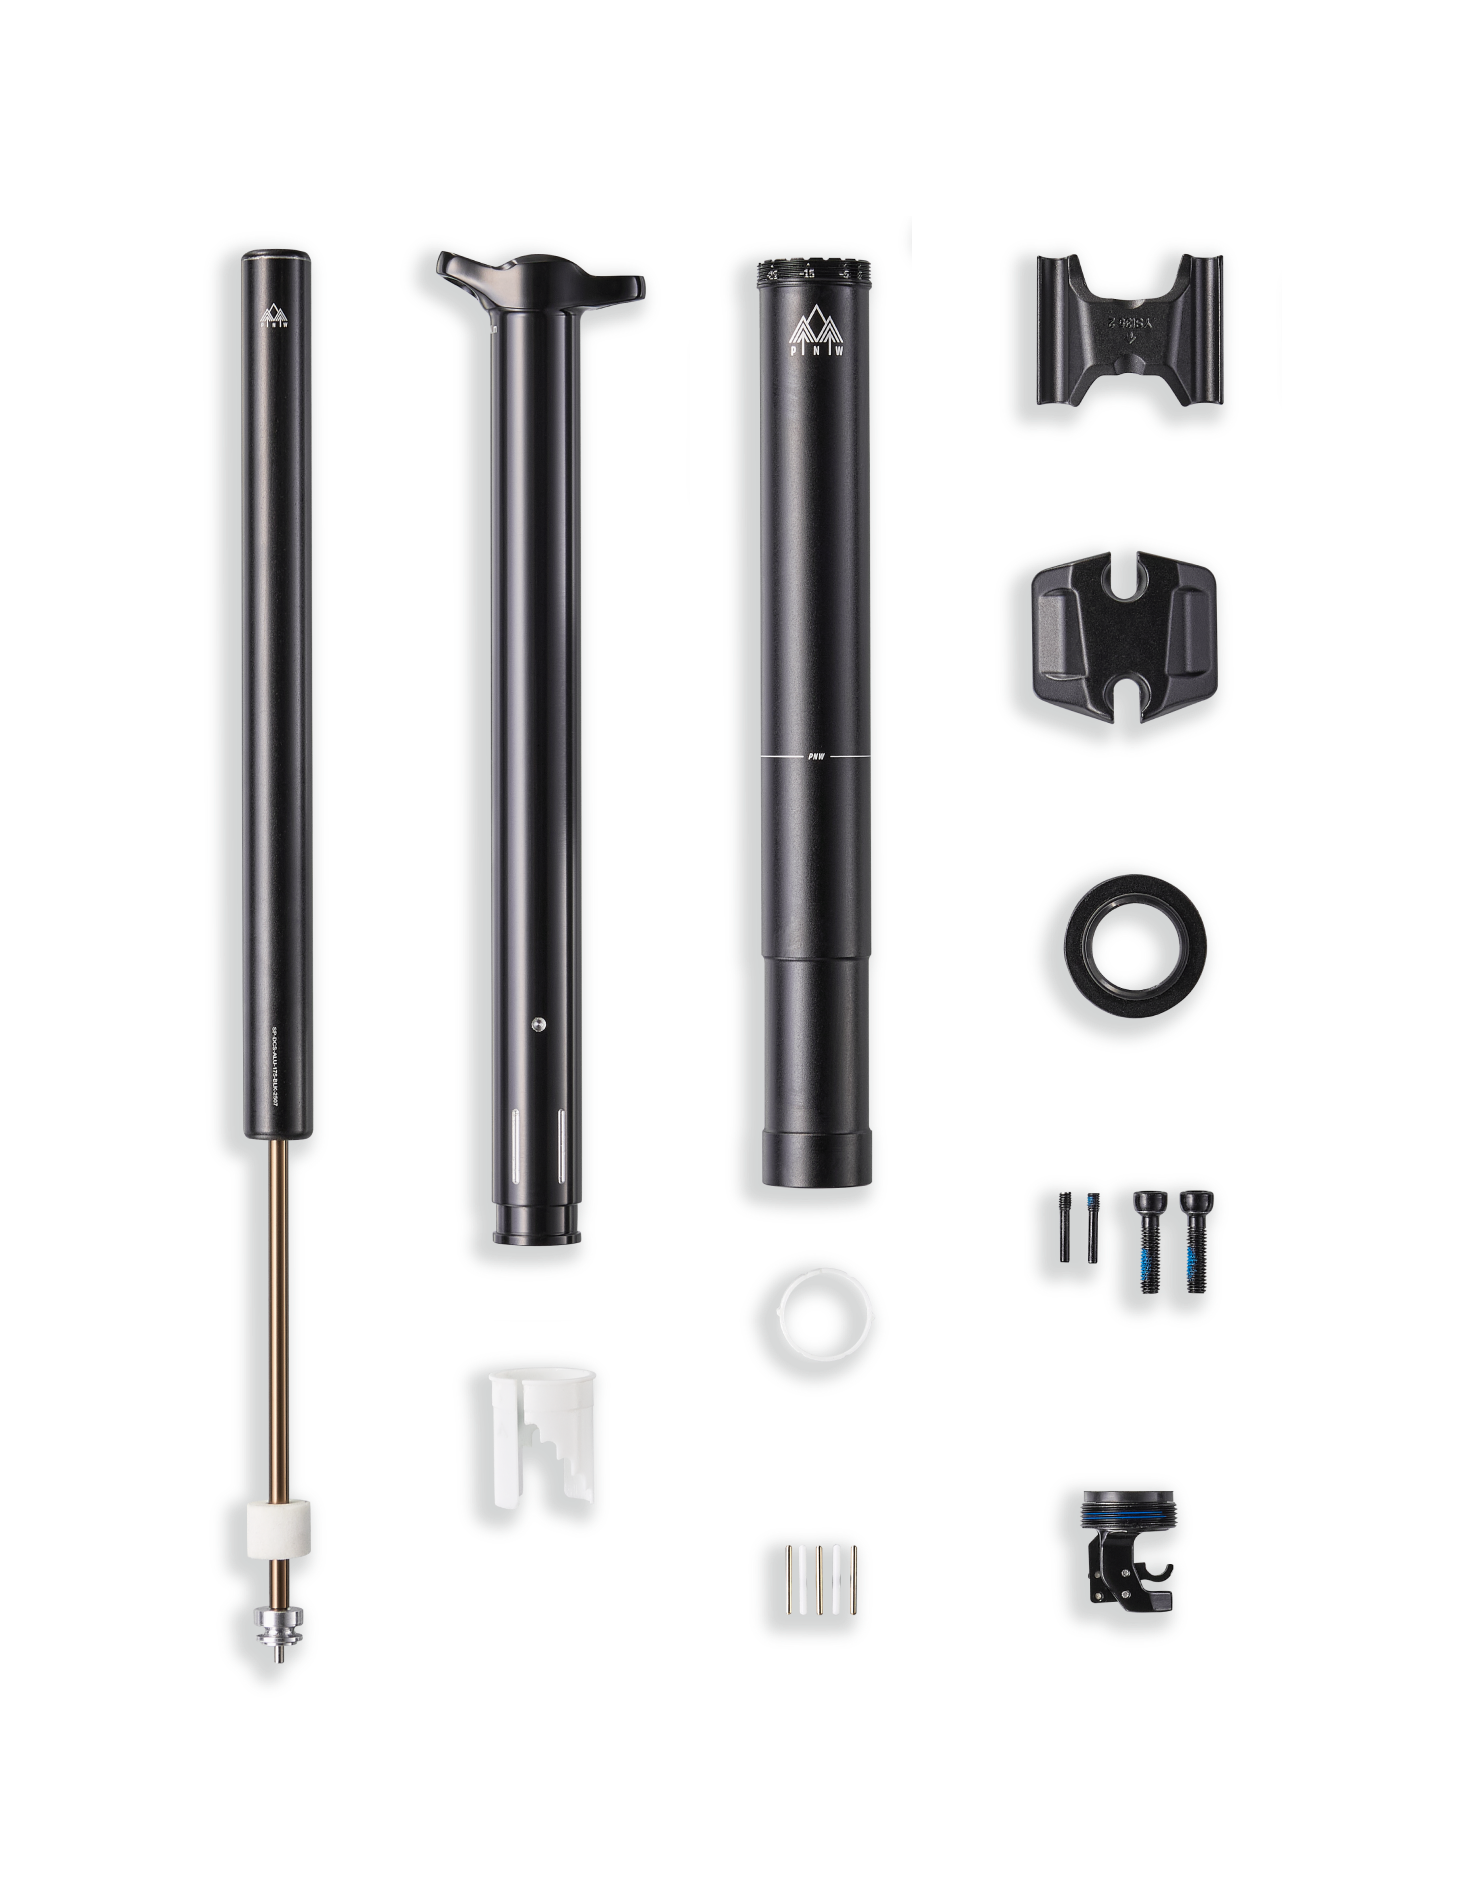
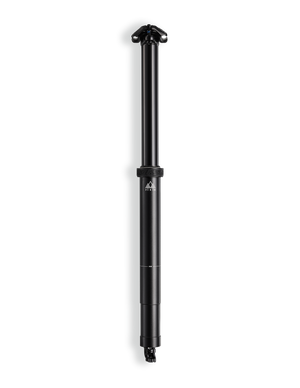
Cartridge: PNW Dual-Chamber Sealed Cartridge
Routing Method: Internal
Diameters: 30.9mm, 31.6mm. 34.9mm
Weight: 452g-700g (depending on size)
Travel: 125mm, 150mm, 175mm, 200mm, 225mm
Stanchion Diameter: 30.9mm & 31.6mm: 26mm, 34.9: 29mm
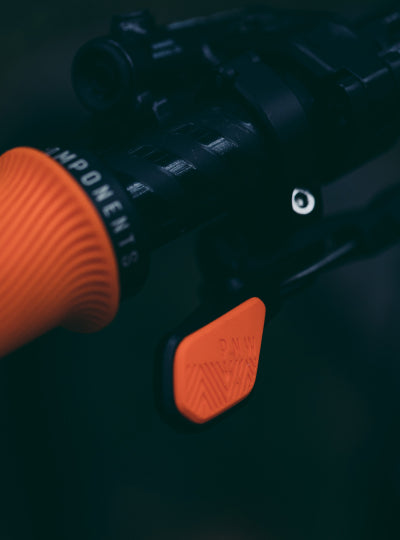
Lever Compatibility: Compatible with all PNW levers and most cable-actuated levers from other brands.
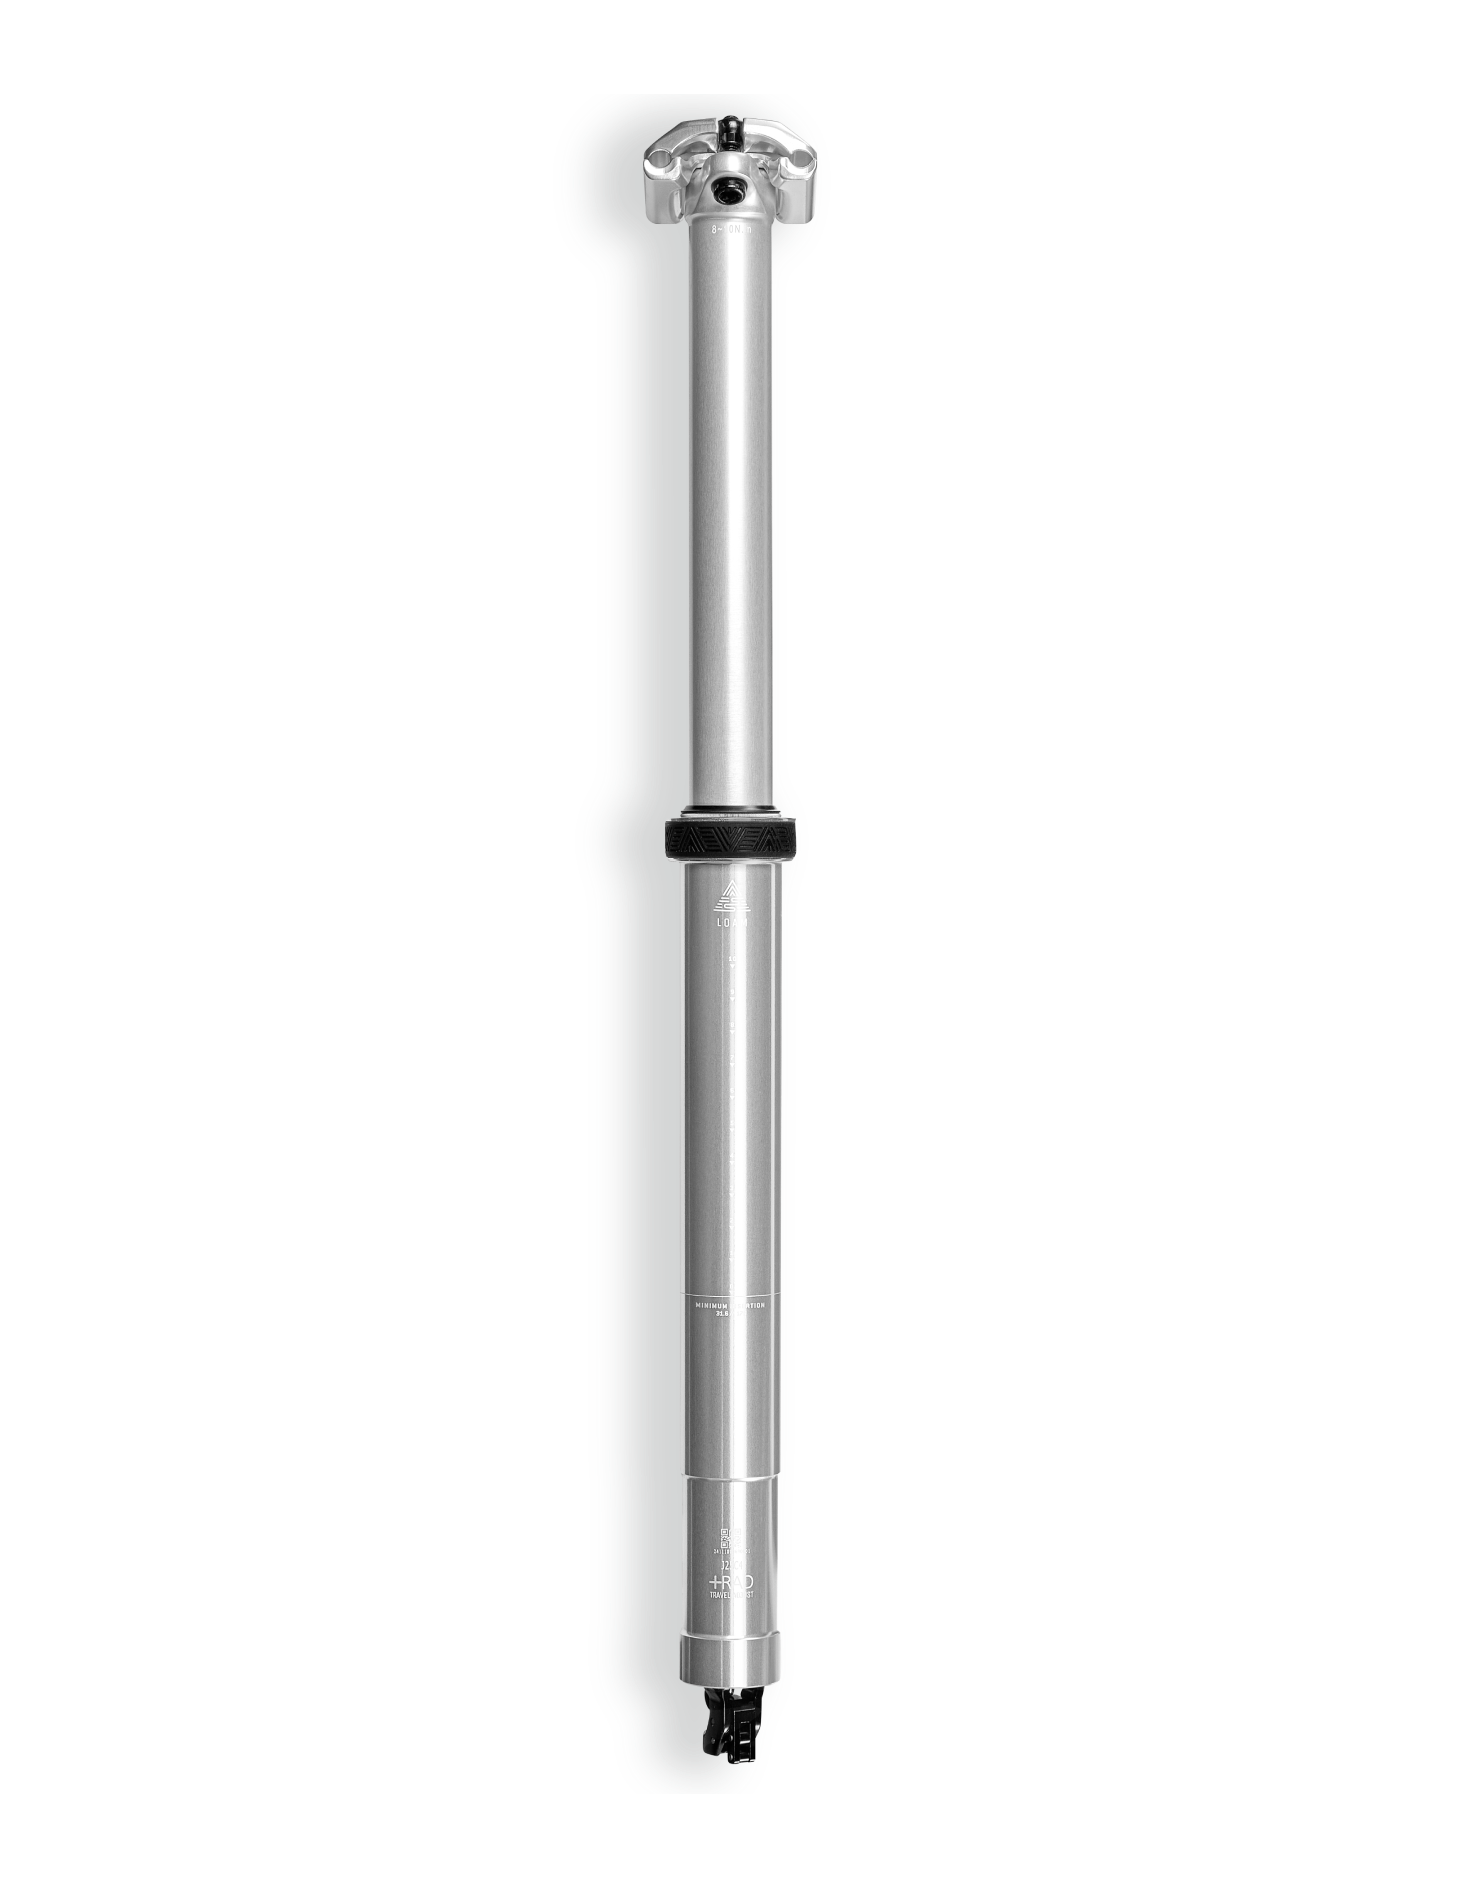
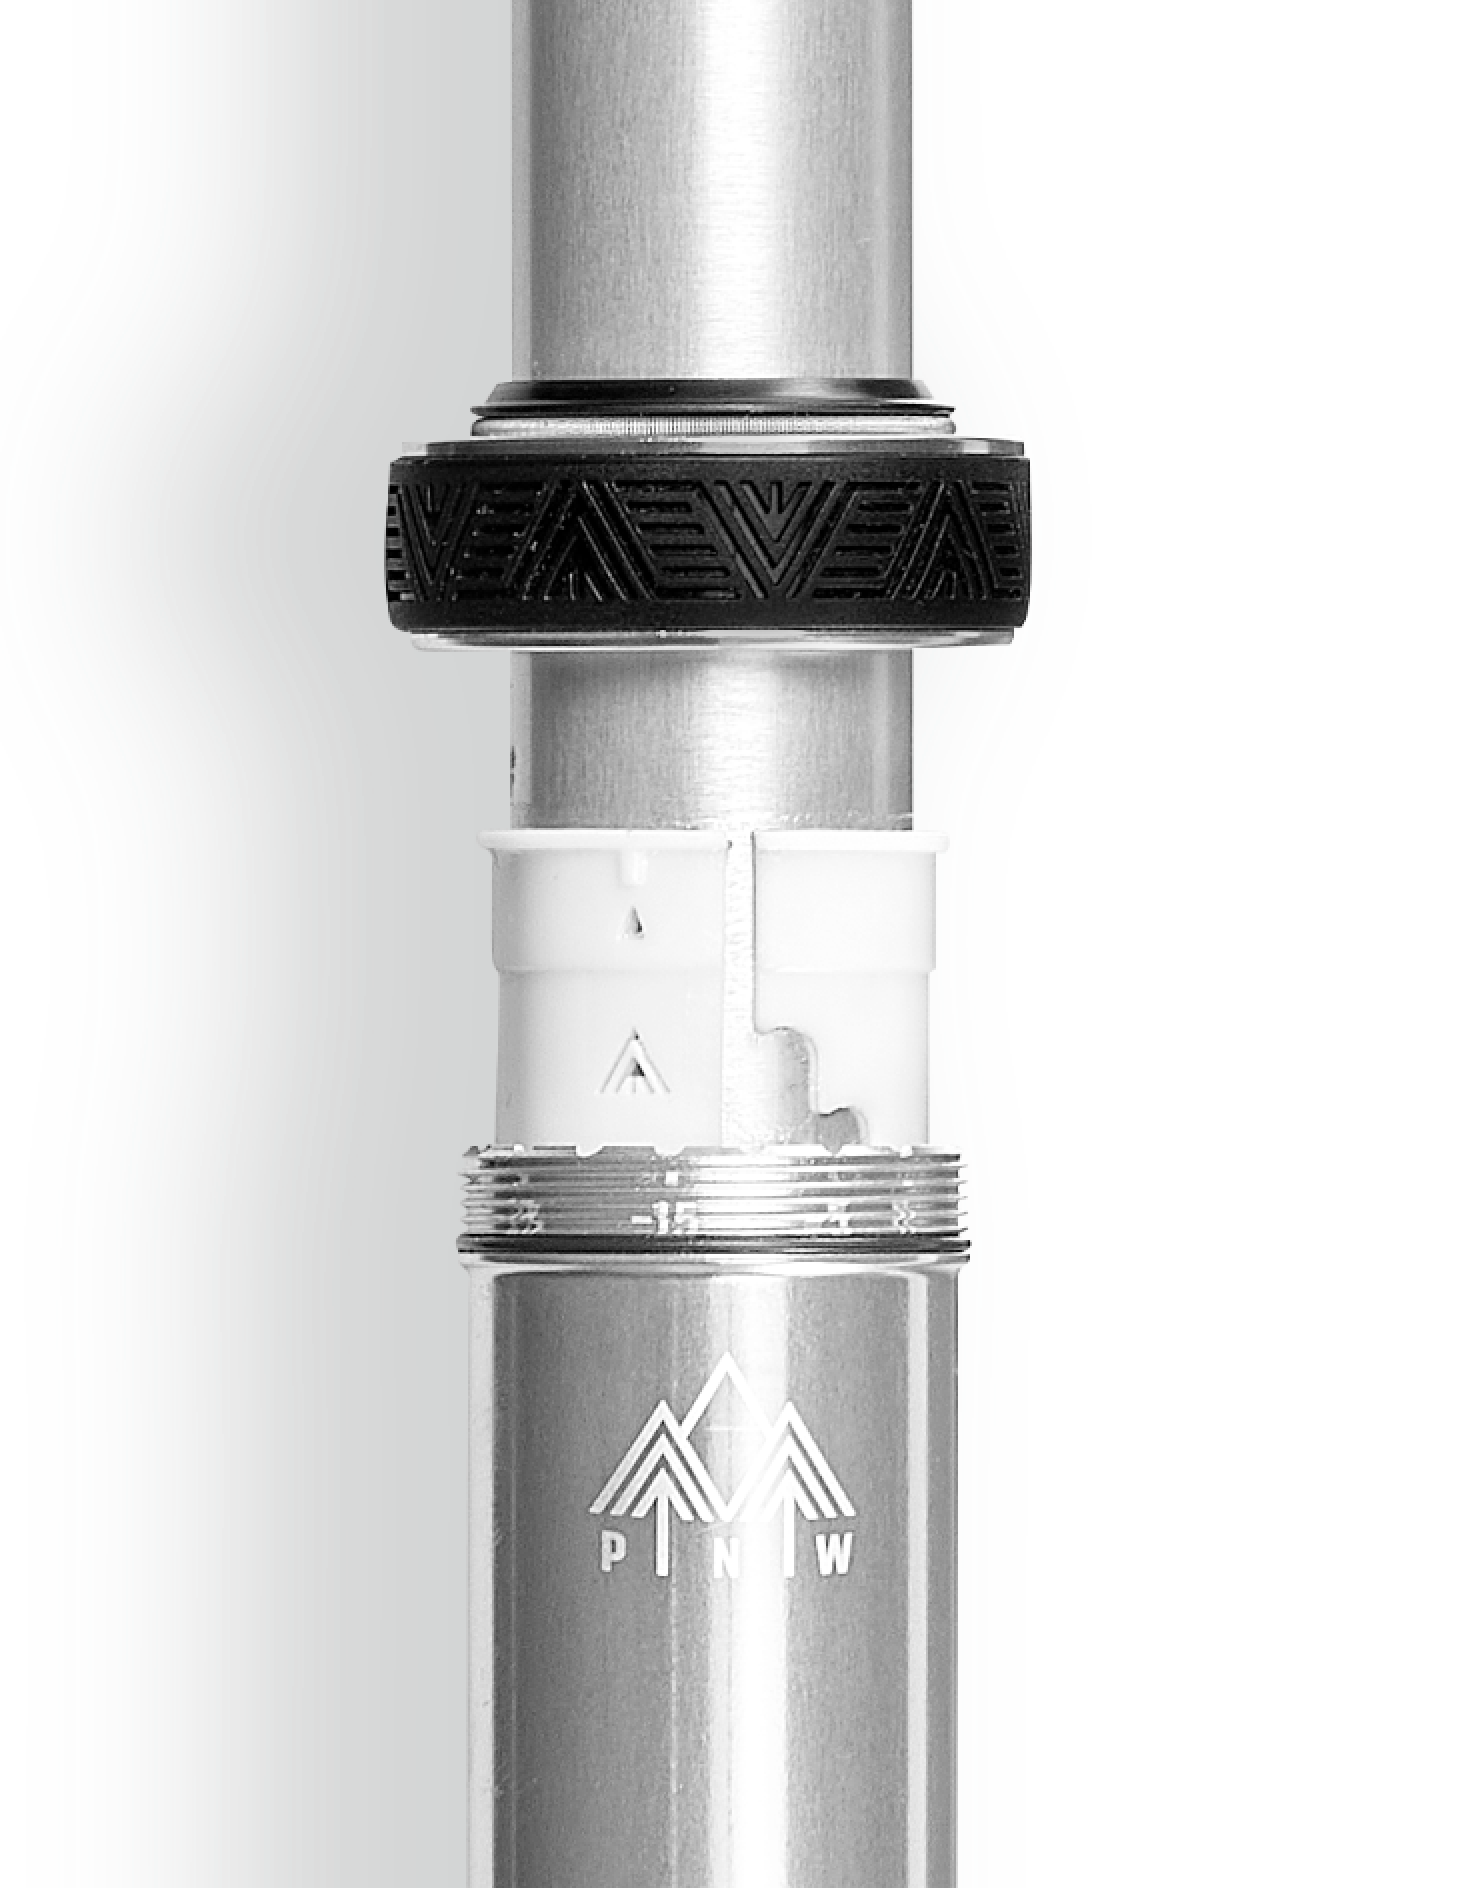
25mm of tool-less travel adjust in 5mm increments hits every 5mm increment between 100 and 225
Like most of us, PNW dropper posts need a little TLC to work their best. This service can be done at home, but if you're not feeling that grease stain life, we can take care of it for you. Our service program treats your PNW dropper post for regular wear and tear. Learn More >>>
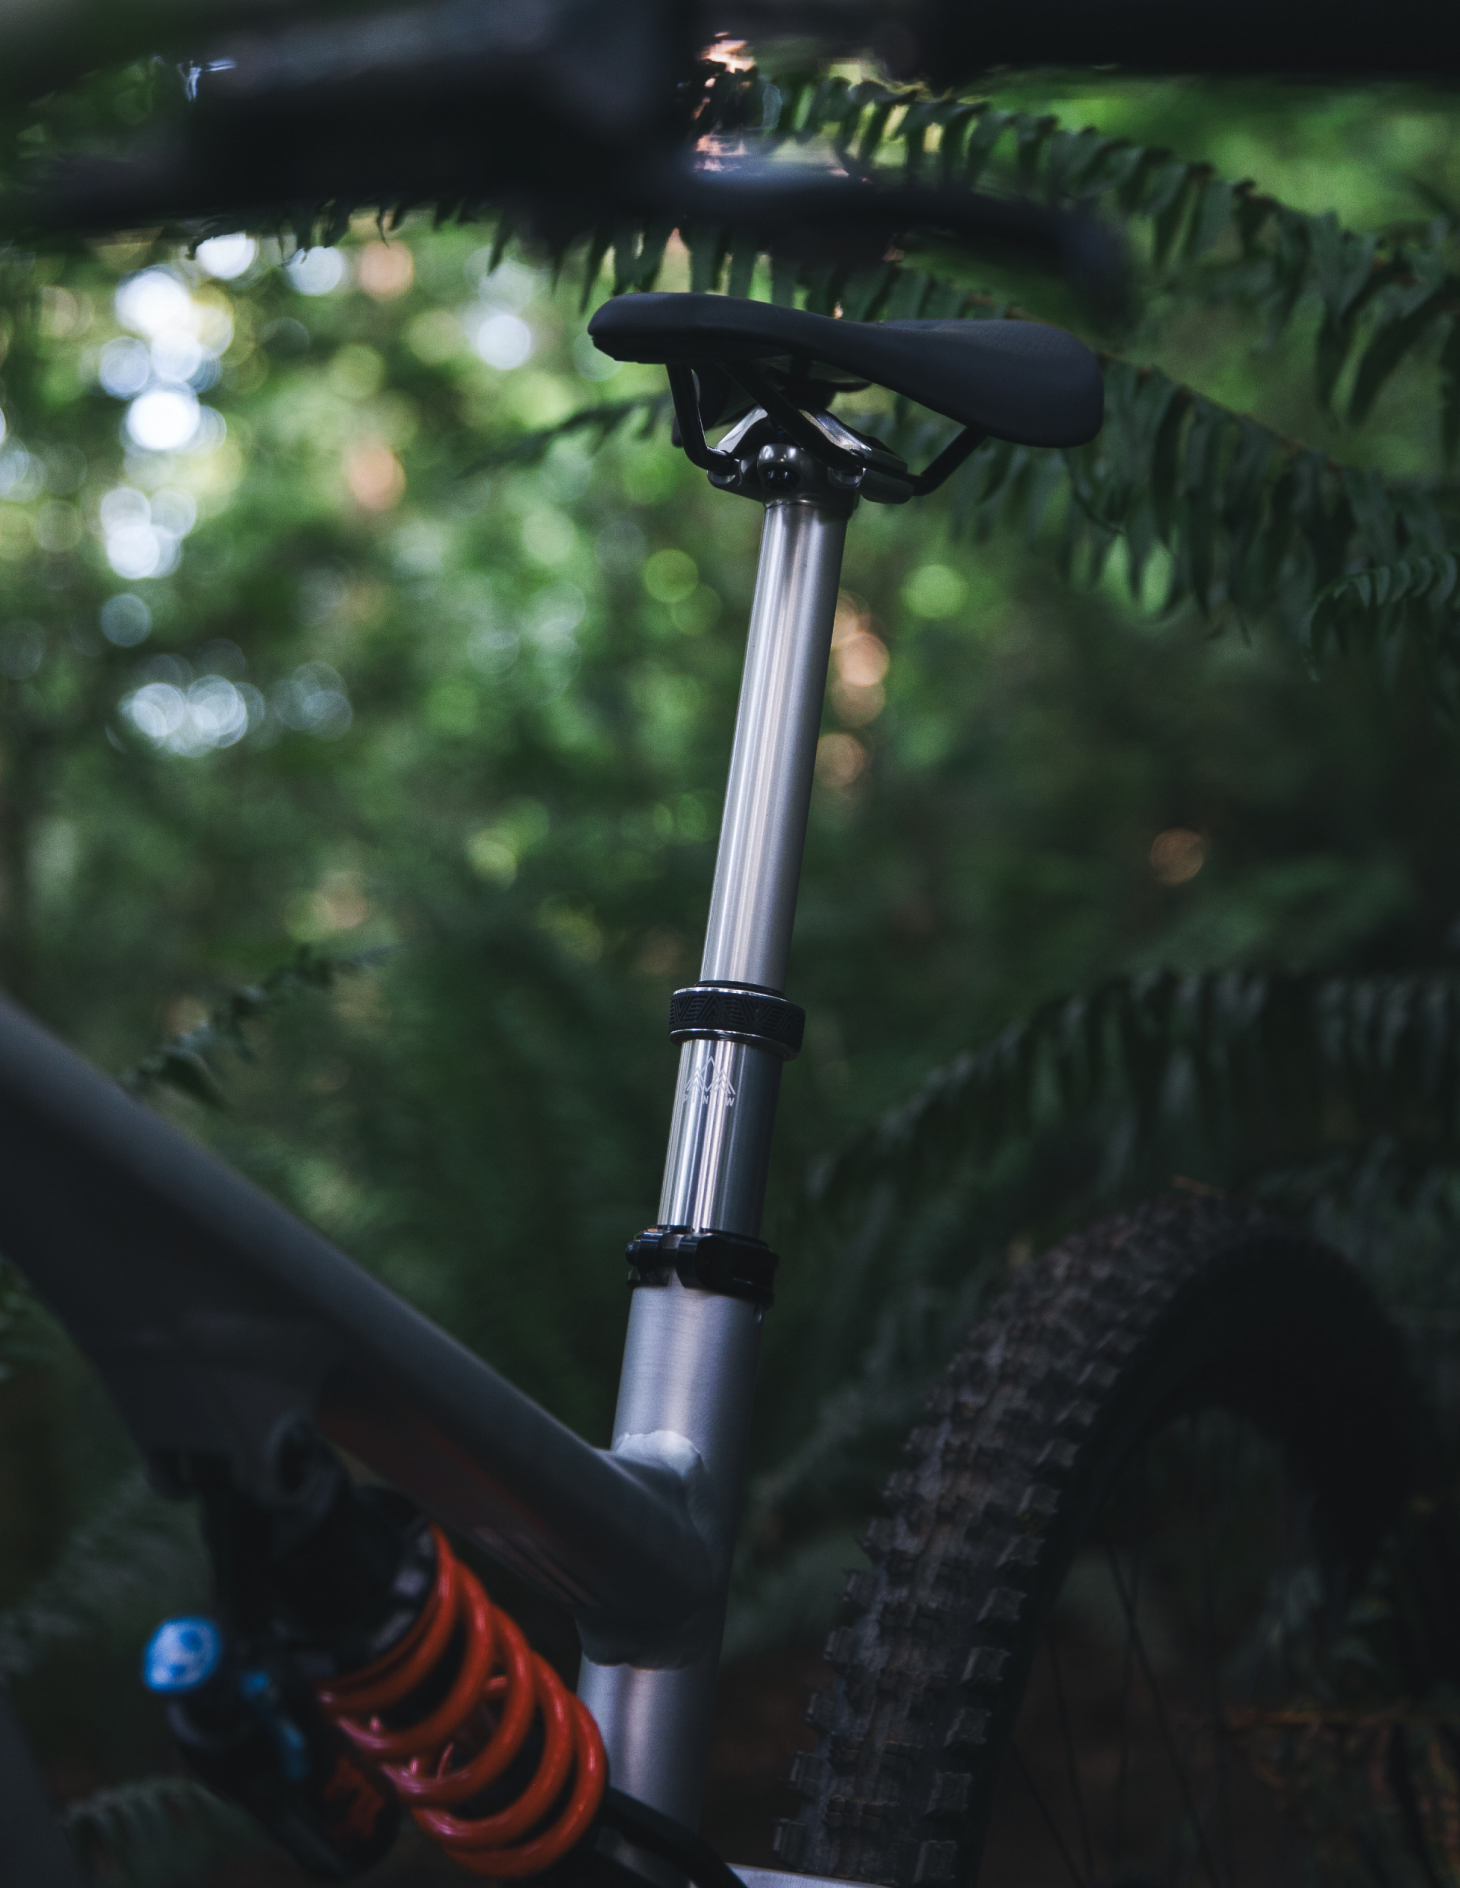
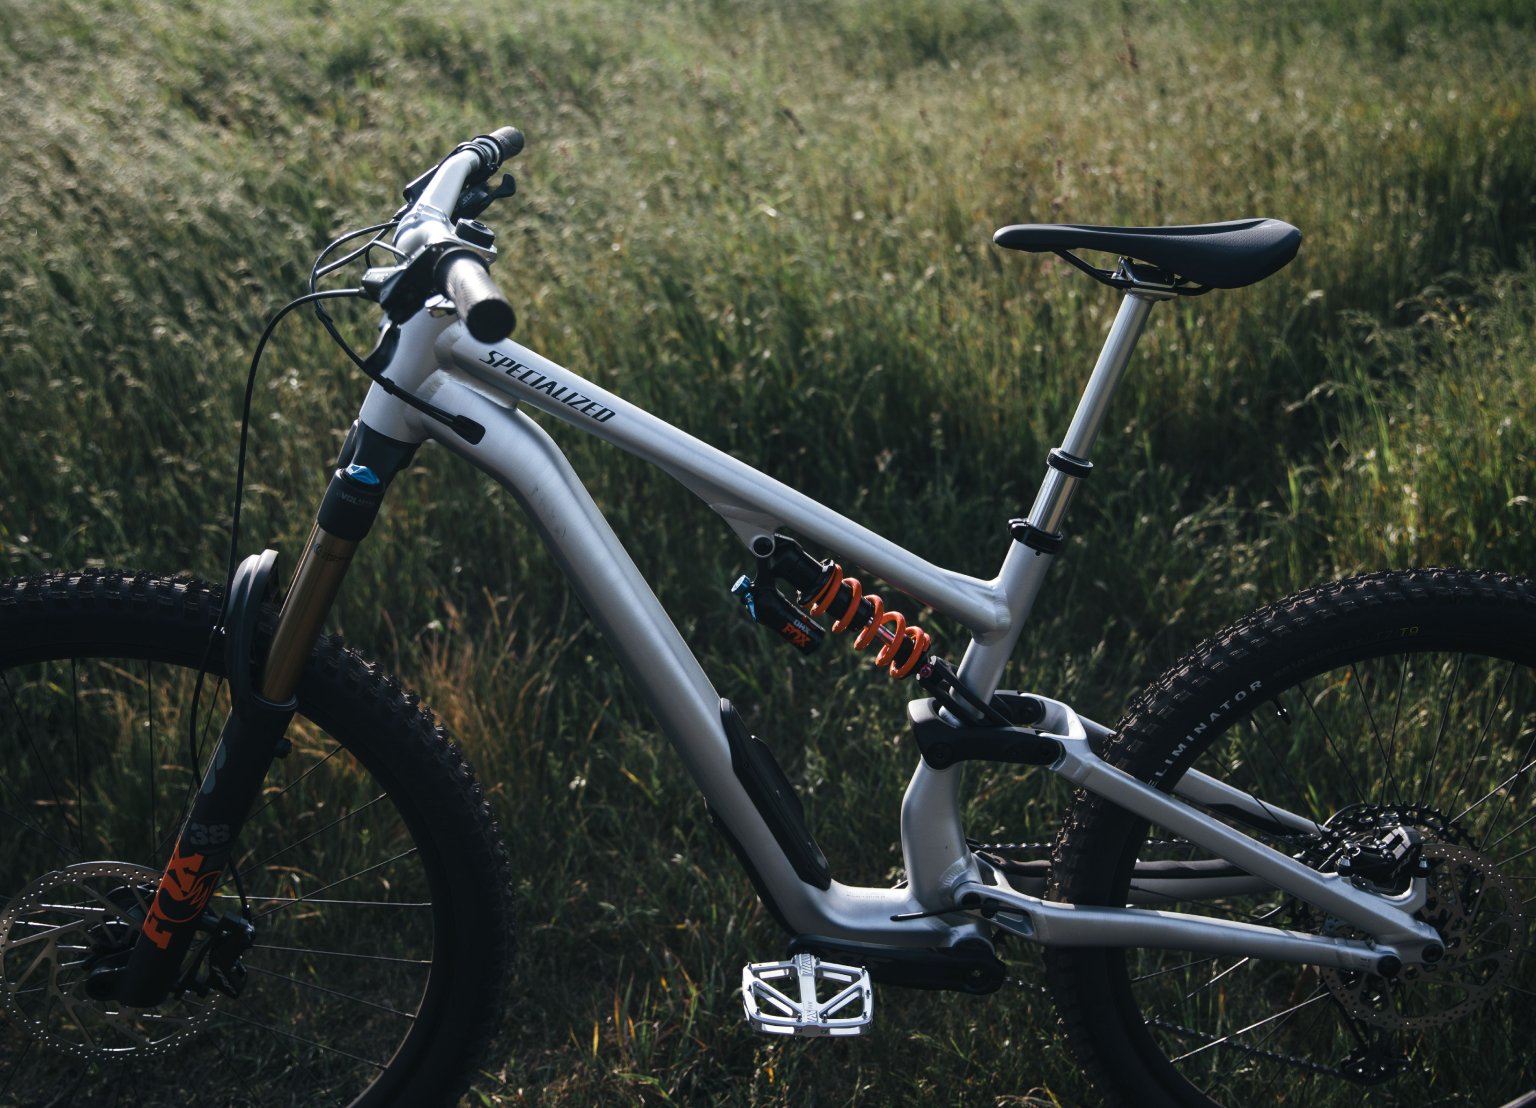
Start by checking if your bike is externally or internally routed. The Loam is only compatible for internally routed frames. Second check the seat tube diameter. Want help finding the right dropper for your bike? Click here >>>
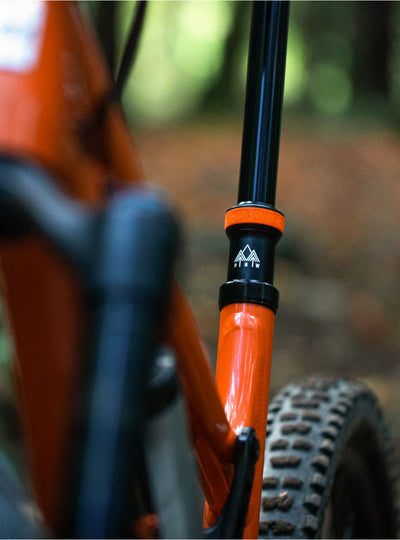
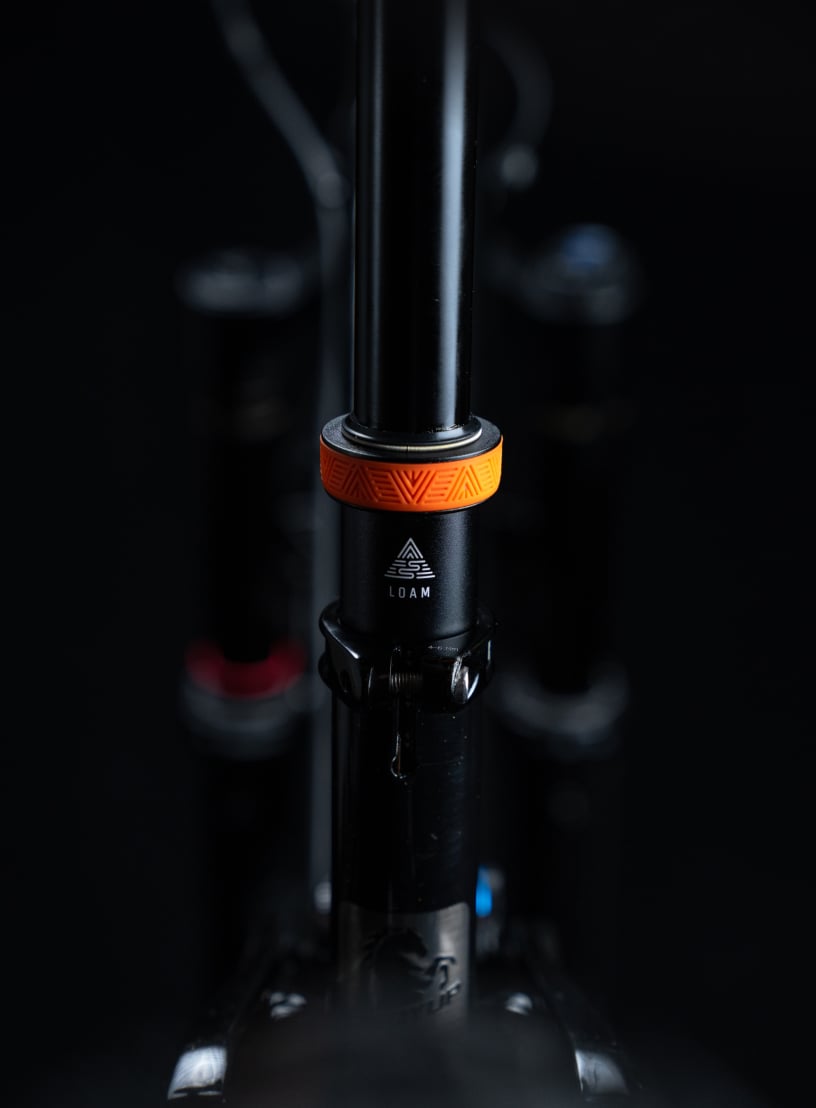
This system allows you the maximum drop for your post size. We accomplish this through a notched bushing under the midcap collar so you can dial in a more tailored fit. The Gen 2 tool-less travel adjust has an updated shape and burlier design for enhanced durability. 25mm of tool-less travel adjust in 5mm increments allows riders to hit every 5mm increment between 100mm and 225mm.
As riding frequency and conditions vary, we do not have a strict service interval. Instead, we recommend servicing your post if it starts to feel sticky/slows down. When it does come down to service it is a quick and easy, at home process. Check out our service video's here.


