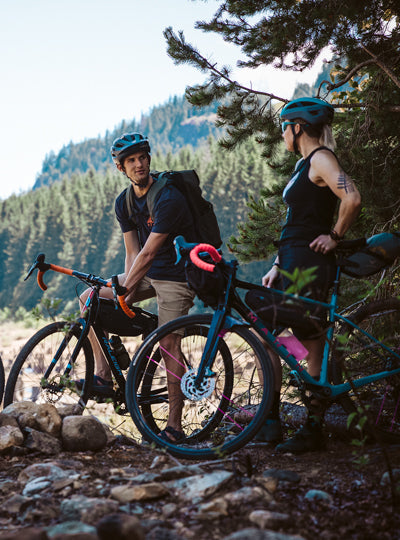
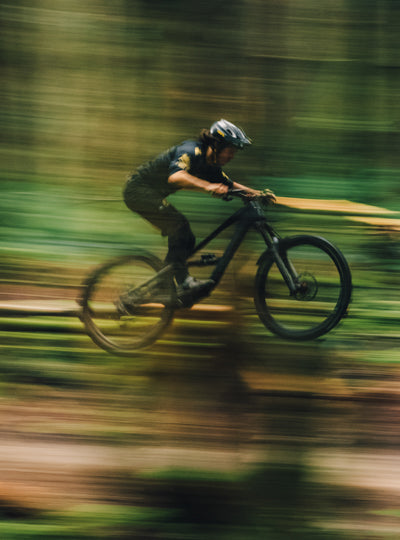
The years of abuse from repetitive radness have begun to take a toll on our bodies, and we’re getting more aware of our mobility (or lack thereof). It’s probably time to stretch more. We’ve heard that yoga can be a polarizing topic. If you’re feeling like yoga isn't for you, we get it - trying new things can be scary, and every new sport or activity has its own unique culture. So let’s just consider these poses to be stretches for mountain bikers that will make you feel better and possibly even ride better… faster, strongerer. If you already embrace that yoga life, feel free to assume the position and breathe along with us.
These groups of stretches (poses) are designed to provide limbering suggestions to address specific cycling needs. We encourage you to take these as hot tips, though this is not intended to be a complete guide. We’re not master yogis.
Warm Up // 3 Key Poses
DOWN DOG
-
Downward-Facing Dog, or "Down Dog," offers an excellent full-body stretch, targeting the back, shoulders, neck, hamstrings, calves, wrists, and feet. This pose is inherently energizing and has been shown to aid in warm-up and post-workout recovery. It also boosts blood circulation, strengthens the core, and alleviates stress.
-
Begin on your hands and knees, with your hands shoulder-width apart and knees under your hips. Tuck your toes and lift your hips up and back, forming an inverted V-shape with your body. Keep your core engaged to support your spine and maintain a neutral back. Push through your hands, pressing your palms firmly into the mat, and try to straighten your arms. Try to push your heels towards the ground, though they may not touch depending on your flexibility. Keep your head relaxed and in line with your upper arms, gazing towards your navel. Hold the pose for several breaths, inhaling and exhaling deeply.
THREAD THE NEEDLE
-
Thread the Needle opens up the shoulders and chest, and relieves tension that builds up in the upper back and neck.
-
Begin on your hands and knees, and bring your right arm across your body under your chest. Rest your hand on the floor with the palm facing up. Lower your upper body, resting your head and neck on the floor, keeping your left arm outstretched in line with your body. Keep your head facing to the left (towards the hand that is stretched beneath your torso). You can now either hold this pose as is, or lift your left arm off the ground and reach towards the sky, finding the position that offers the deepest stretch without being painful. Release and switch arms.
RAG DOLL
-
The Rag Doll pose is an excellent way to alleviate back pain and prepare your head and neck for a day of thrashing about.
-
Begin by standing with your feet shoulder-width apart, then bend forward, allowing your head, neck, and arms to hang loosely. Relax and let gravity deepen the stretch. For an even more profound stretch in your back and legs, gently move into a forward bend and grasp your feet with your hands.
DECREASE BACK PAIN // 3 KEY POSES
A lack of core strength is super common and can lead to discomfort in the lower back during activities like mountain biking, as the core is not adequately engaged to stabilize the body. The good news is that core strength is quick to improve with targeted training, which can help alleviate discomfort in the long run. Plank, Side Plank, and Locust are three of the most effective poses for building core muscular endurance.
PLANK
-
3 sets of 1 minute with 30 seconds rest between each set. (You can do this pose on your forearms if you prefer.)
-
Hold yourself up on the ground with your hands or forearms, and toes. Your back and legs should be as straight as possible. The first 10 to 20 seconds may be a breeze, but soon your arms and toes will wobble and your abs will be on fire. While it is tempting to fall to the ground, hold your nerve. Sixty seconds is a good time to aim for when starting out.
SIDE PLANK
-
3 sets alternating 30 seconds on each side. (You can also do this pose on your forearms.)
-
Lie on your side with your legs straight and your feet stacked on top of each other. (It helps to do this on a yoga mat or another soft surface.) Place your forearm or hand flat on the ground, under your shoulder. Push through your feet and hand or forearm to lift your hips up toward the ceiling. Avoid rotating your hips. Hold this position for a few seconds, thinking about squeezing your core muscles as you do so. Try to gaze forward
LOCUST
-
3 sets of 1 minute with 30 seconds rest between each set.
-
Lie on your stomach with arms down by your sides, palms facing the floor. Extend your legs straight back with the tops of your feet pressed into the mat. Roll your shoulders. Let your forehead rest naturally on the mat. Roll your shoulder blades down and back to open your chest. Inhale and lift your head, chest, and arms up from the ground. With arms extended straight back, stretch through all ten fingers, and slightly turn your hands so that the thumbs point down. Exhale and lift your legs off the mat, leading with the inner thighs. With the buttocks slightly firm, drop the tailbone toward the ground. Hold. Focus your gaze on the floor and slightly in front of you to keep the back of your neck from crunching. Hold the pose for three to five breaths and then release out of the pose.
PREVENT ARM PUMP // 3 PRACTICES
These effective arm-pump prevention practices were compiled by MTB Yogi – head over to her site for a full breakdown on how to improve arm-pump.
WRIST STRETCHES
-
Come into tabletop position. Grip the fingers into the mat (or ground), as if you wanted to claw down your mat. From here, gently lean forward and back, keeping your fingers super active. Your fingers are your brakes to prevent falling forward. As you build more strength and flexibility, you may notice the heel of your hand is lifting off the ground.
MAGIC HANDS
-
Find a comfortable seated or standing position. Extend the arms out in front or overhead. Start by making fists, then flick your fingers open, and then close your hand back into a fist. Repeat the movement sequence as fast as you can for at least 20 times or until forfeit. It’s harder than it looks, but… you’re doing magic!
HAND PUSH UPS
-
Come into a tabletop position. Your weight should be evenly distributed on your hands and knees (no leaning back to unweight the hands). Deep core engaged.
-
Lift the heel of your hands off the ground, then lower back down slowly. You should feel your forearm muscles activating. If it seems easy, it means you are most likely unweighting the hands and just hinging at the knuckles.
-
Repeat 20 times or until forfeit.
RECOVERY // 3 KEY POSES
CHILD’S POSE
-
A perfect starting point for unwinding after an intense ride, this pose offers a calming effect on the mind and prepares you for stretching. It's particularly effective for easing tightness in the lower back, a common complaint after extended time in the saddle.
-
Begin in a kneeling position, butt on your heels, with your feet together and your knees slightly spread. Lean forward, resting your stomach on your thighs, stretching your arms in front of you, and placing your forehead on the floor.
SEATED TWIST
-
This versatile pose, with its numerous variations, offers consistent benefits: it stretches and strengthens the hips, spine, and shoulders, alleviating neck and back pain while enhancing spinal flexibility. It can be incredibly effective for easing the mid-back tightness after long rides.
-
Start in a comfortable seated position. Sit on the floor with legs extended in front of you. Bend your left knee and place your left foot on the floor outside your right thigh. Twist to the right. Inhale and lengthen your spine, then exhale and twist your torso to the right. Place your right hand on the floor behind you for support, and bring your left elbow to the outside of your right knee. Deepen the twist. As you inhale, lengthen your spine, and as you exhale, deepen the twist, looking over your right shoulder. Hold and breathe: Hold the pose for 5-8 breaths, focusing on lengthening your spine with each inhale and deepening the twist with each exhale. Release and repeat on the other side.
PIGEON
-
Over time, Pigeon will increase the range of motion in the hips and lengthen the hip flexors.
-
Start on your hands and knees. Bring your right knee forward towards your right hand, bending your right leg underneath you. Extend your left leg straight back as far as is comfortable. Keep your hips level with the floor. For a deeper stretch, you can lean forward and rest your forehead and arms on the floor. Alternatively, you can keep your torso upright. Ensure your left thigh is slightly rotated inward to protect your kneecap. Hold this position for your desired duration, then switch legs and repeat.
Interested in dabbling further into yoga, but not ready for a class? We recommend starting at home, just 15-20 minutes a week can make a huge difference. Try starting out with a free app like Nike Training Club. Working up to multiple workouts a week will show the most benefit, but even just taking those 15 minutes to stretch before or after a ride can improve your comfort and performance on the trail.
Here are some great, quick YouTube videos to begin with:
Trusted stretch expert sources:
-
Agnes Castellan: https://www.instagram.com/agnes_mtbyogi
-
Abi Carver: https://www.instagram.com/yoga15abi/
-
Branden Collinsworth, Jonah Kest, Alex Silver Fagan: https://www.nike.com/ntc-app
